Hey everyone! Welcome back to our "Build & deploy" series with Apache Hop. In this post, we’re going to cover a crucial part of any development process—version control. Specifically, we’ll be managing our Apache Hop project using the Git integration. This is an essential step for ensuring your work is backed up, shareable, and versioned correctly.
So, let’s dive in!
What you’ll learn in this post
- Why Git is essential for tracking changes, collaborating, and ensuring your project is backed up and versioned properly.
- Prepare your Apache Hop project for Git.
- How to add files to your Git repository, commit changes, and push them to a remote repository.
- How to perform essential Git operations, such as pulling changes, reverting files, and visually comparing file revisions, directly from Apache Hop's user-friendly interface.
In this post, we focus exclusively on Apache Hop's Git integration, rather than covering Git command-line tools or any external Git clients. For those looking to explore Git usage with other clients or the command line, we recommend referring to the official Git documentation for more detailed guidance.
Git and version control matter
Before we jump into the technical steps, let’s briefly talk about why using Git is so important.
Git allows you to track changes to your project over time, collaborate with others without overwriting each other’s work, and roll back to previous versions if something goes wrong. Whether you're working solo or in a team, using Git is a best practice that saves time and headaches down the road.
Preparing your Apache Hop
First things first, make sure your Apache Hop project is organized and ready to be versioned. Here’s a quick checklist:
- Your Apache Hop project is already set up: If not, refer to the earlier steps in this series: Installation, first project and environment and Develop your first pipelines in a workflow.
- Ensure your project files are clean: Remove any temporary or unnecessary files.
- Directory structure: Make sure your project directory has a clear structure, with folders for your pipelines, workflows, and environment configurations.
- Git installation: Git is installed on your system.
If you haven’t already set up your project directory, go ahead and do that now.
Why use Git integration in Apache Hop’s GUI?
Using Git within Apache Hop’s GUI is a fantastic option if you prefer a visual interface or if you're new to command-line Git. The integration helps you:
- Track changes in real-time with color-coded file statuses.
- Easily stage, commit, push, and pull changes without leaving the Hop environment.
- Visually compare file revisions to see what’s changed between different versions of pipelines or workflows.
The built-in Git integration in Hop simplifies managing your project’s version history and collaborating with others.
The very first step could be that you create an empty repo with your git account, clone it and then you use that folder as your Apache Hop project home folder.
If you didn’t do this before creating your Apache Hop project, no worries, create an empty repo, clone it and move your project files to that repo or use git init.
Step 1: Accessing the File Explorer perspective
The File Explorer perspective is your starting point for managing files in Apache Hop. This includes everything from creating new folders, opening workflows and pipelines, to handling Git version control. To access the File Explorer:
- Open Apache Hop.
- Press CTRL + Shift + E (or click the folder icon).
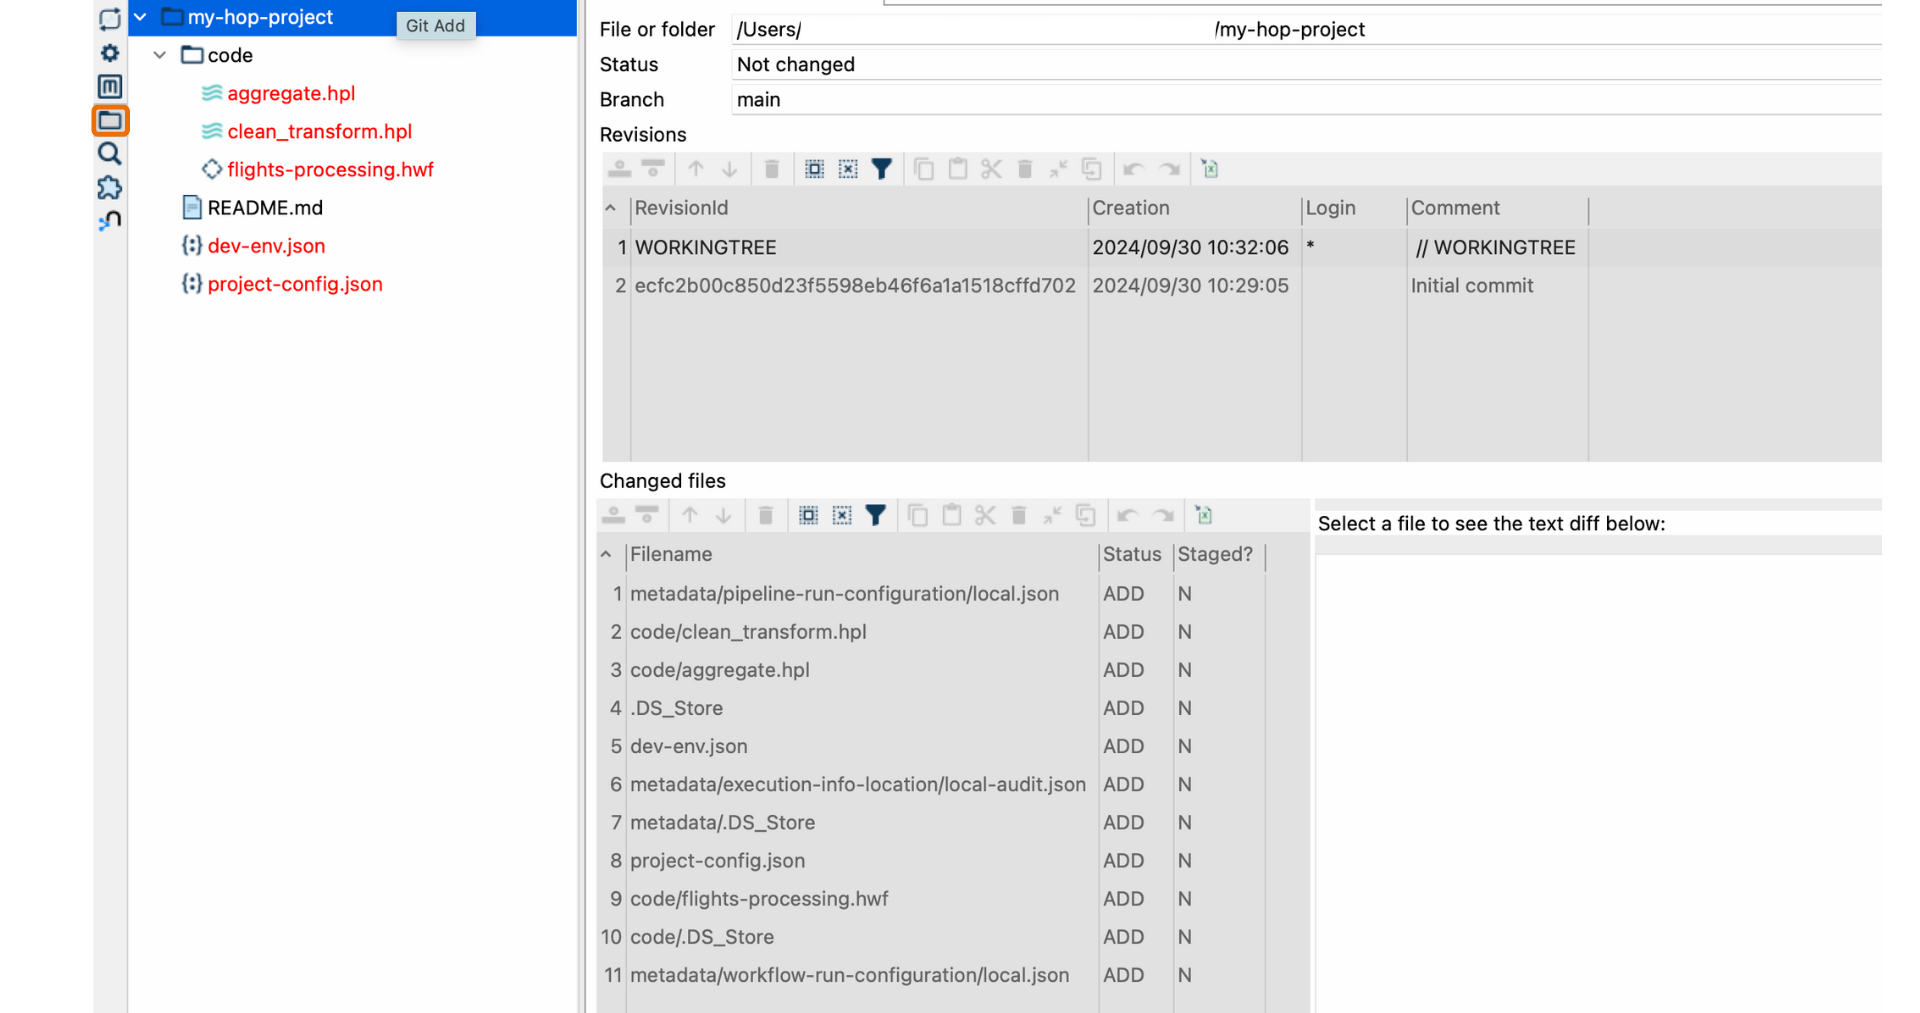 This perspective gives you access to all the files associated with your project, such as workflows (hwf), pipelines (hpl), JSON, CSV, and more.
Step 2: Setting up Git integration for my-hop-project
To ensure that your project is version-controlled using Git, Apache Hop needs to detect a Git repository in the project folder. Here’s how to enable Git integration:
- Install the Git Plugin: Ensure that the Git plugin is installed in the Hop environment. The plugin should be located in the plugins/misc/git directory within your Hop installation.
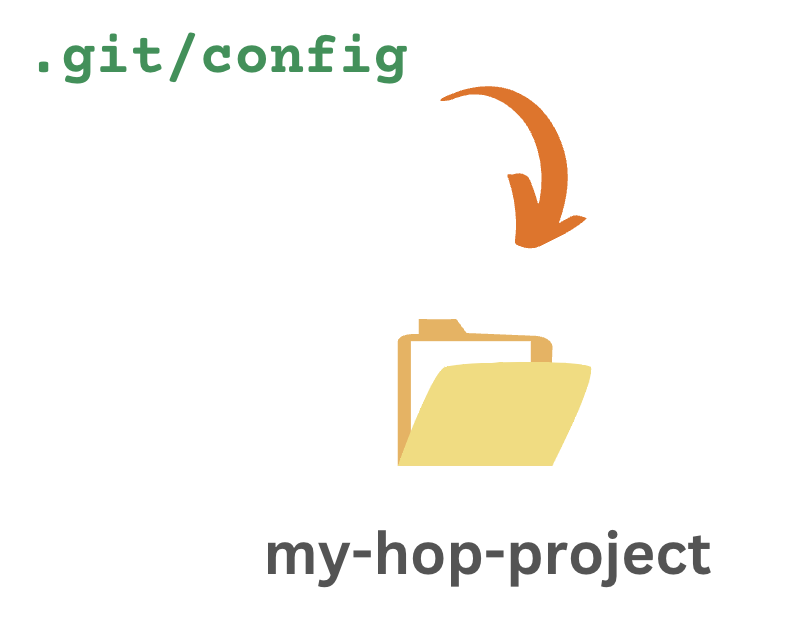
- Configure Git in Hop: If your Git repository is initialized, Hop will automatically detect the .git/config file within your project folder.From now on, your file statuses will be color-coded in the File Explorer:
- Red: Files that are not yet added to Git (un-staged).
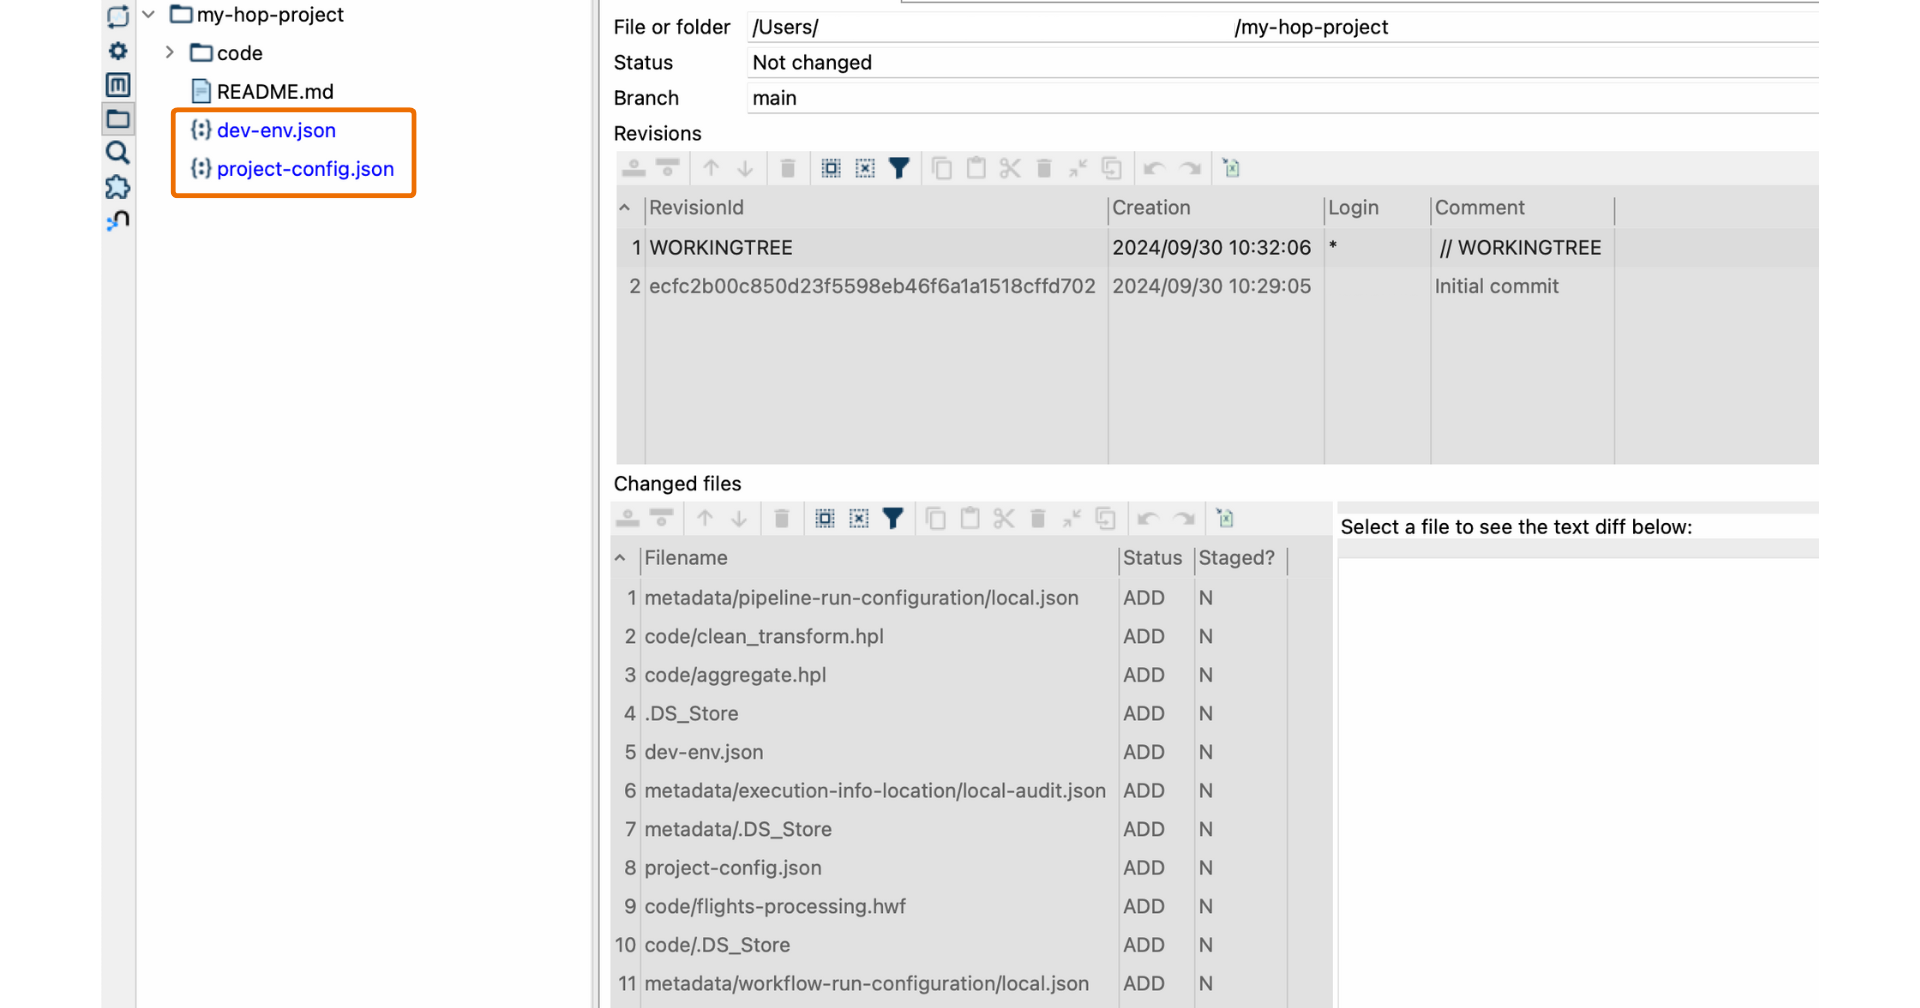
- Blue: Files that have been modified (staged but not committed).
- Gray: Files ignored by Git.
Important: Certain files, such as ./git/config and metadata objects, are hidden by default. It's important to note that manual editing of metadata JSON files is not recommended as it may lead to issues in your project configuration. To view hidden files, you can use the "Show/Hide" option available in the menu. This allows you to toggle the visibility of these files when needed.
Step 3: Adding files to Git
In Apache Hop, adding files to Git (staging them) is incredibly simple using the GUI. Here’s how:
- Select the file(s) you want to add to Git from the File Explorer.
- In the toolbar at the top, you’ll see the Git Add button. Clicking this will stage the selected files, meaning they’re ready to be committed to your Git repository.

Alternatively, right-click the file in the File Explorer and select Git Add.
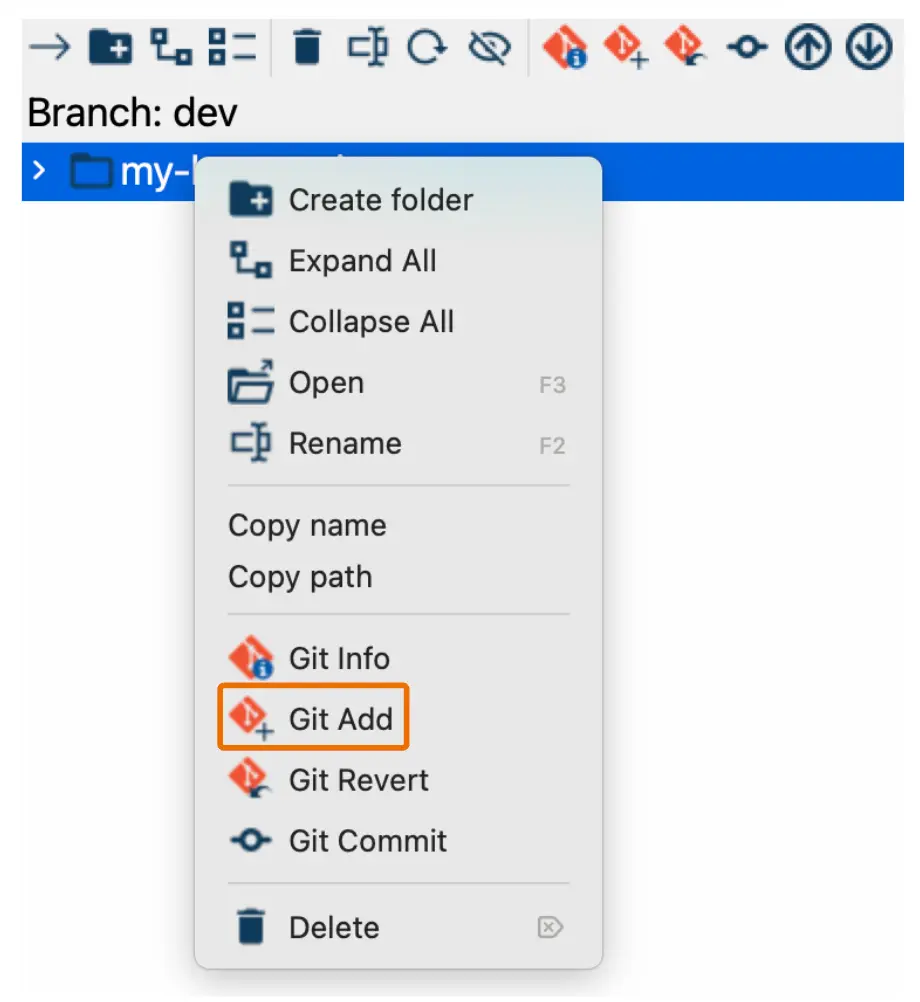
Once staged, the file will change from red to blue, indicating that it’s ready to be committed.
Step 4: Committing changes
After staging your files, you’ll want to commit them. A commit is a snapshot of your project at a specific point in time.
- Click the Git Commit button from the toolbar.

- Select the files you’ve staged from the File Explorer and you want to include in the commit.
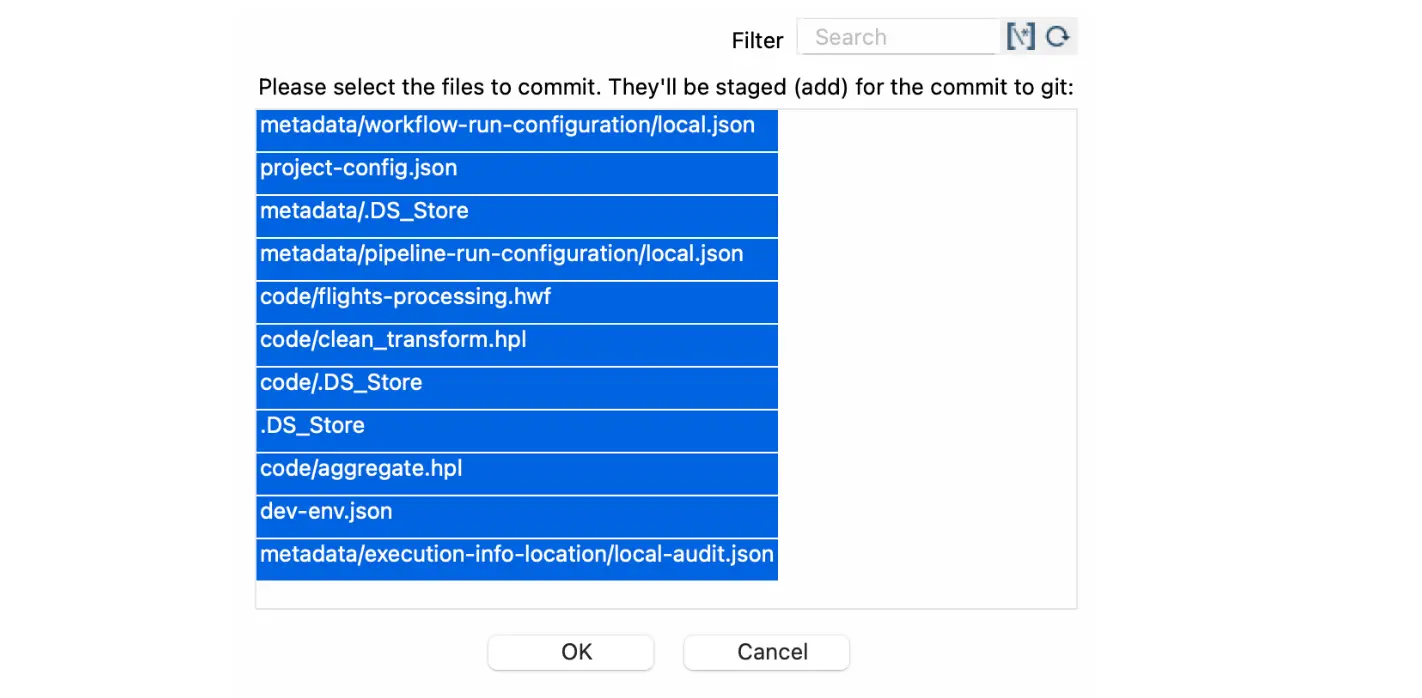
- A dialog will prompt you to enter a commit message. Be descriptive—this message should summarize the changes you’ve made.

- Confirm the commit.

Once committed, the blue files will return to a neutral color.
Step 5: Pushing changes to a remote repository
If you’re working with others or simply want to back up your work, you’ll want to push your changes to a remote Git repository (e.g., GitHub, GitLab, or Bitbucket).
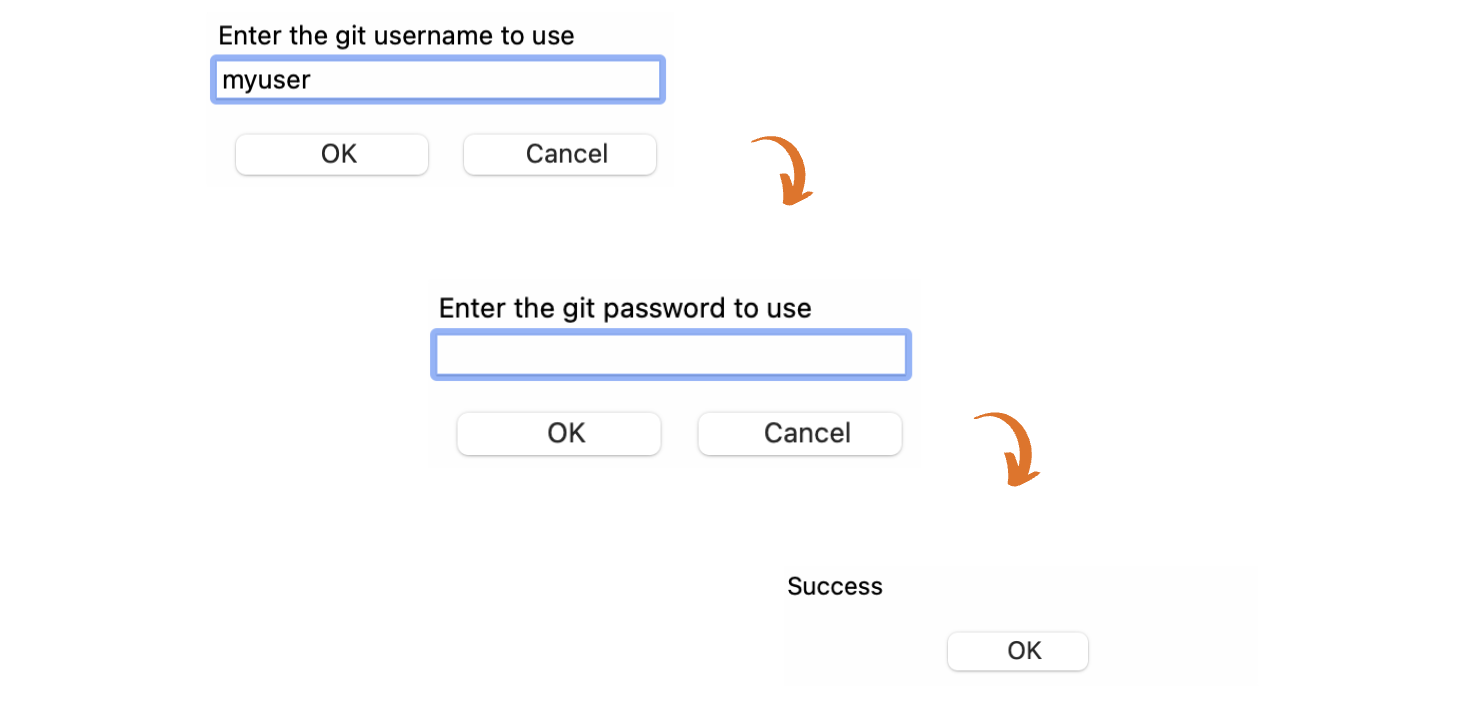
- In the Git toolbar, click the Git Push button.

- Apache Hop will prompt you for your Git username and password. Once you provide the correct authentication details, a confirmation message will appear, indicating that the push was successful.
Managing Git operations in the Hop GUI
In addition to adding and committing files, Apache Hop's File Explorer perspective allows you to manage other Git operations:

- Pull: To retrieve the latest changes from your remote repository, click the Git Pull button in the toolbar. This ensures you’re always working with the most up-to-date version of the project.
- Revert: If you need to discard changes to a file or folder, select the file and click Git Revert in the Git toolbar.
- Visual Diff: Apache Hop allows you to visually compare different versions of a file. Click the Git Info button, select a specific revision, and use the Visual Diff option to see the changes between two versions of a pipeline or workflow. This opens two tabs, showing the before and after states of your project.
Summarizing the file operations
The File Explorer in Apache Hop offers several toolbar options for file management:
- Open selected file: Use the right arrow or double-click to open a selected file.
💡Take into account that workflows or pipelines open in the Data Orchestration perspective, while other file types open in a new tab.
- Create folder: Add a new folder.
- Expand all folders: Display all nested folders in the directory tree.
- Collapse all folders: Hide all nested folders in the directory tree.
- Delete: Remove a selected file or folder.
- Rename: Rename a file or folder.
- Refresh: Refresh the file list.
- Show or hide files: Show or hide files or directories.
Conclusion
And that’s it! You’ve successfully added your Apache Hop project to Git. Now, your project is version-controlled, backed up, and ready for collaboration.
In upcoming blog posts, we’ll be running our project using various methods like Hop-Run and Docker, so stay tuned for that.
Don't miss the video below for a step-by-step walkthrough of the entire process!
Stay connected
If you have any questions or run into issues, contact us and we’ll be happy to help.