Welcome back to our "Build & deploy" series! In previous posts, we’ve explored building and executing Apache Hop pipelines using the Hop GUI and Hop Run. Now, we're taking it a step further by running these pipelines and workflows in a Docker container.
Docker offers a consistent environment across different platforms, making it ideal for deploying Apache Hop in a scalable, isolated, and repeatable way.
In this post, we'll walk you through how to run your Apache Hop pipelines and workflows using Docker for your project, my-hop-project.
Let’s dive in!
Why use Docker with Apache Hop?
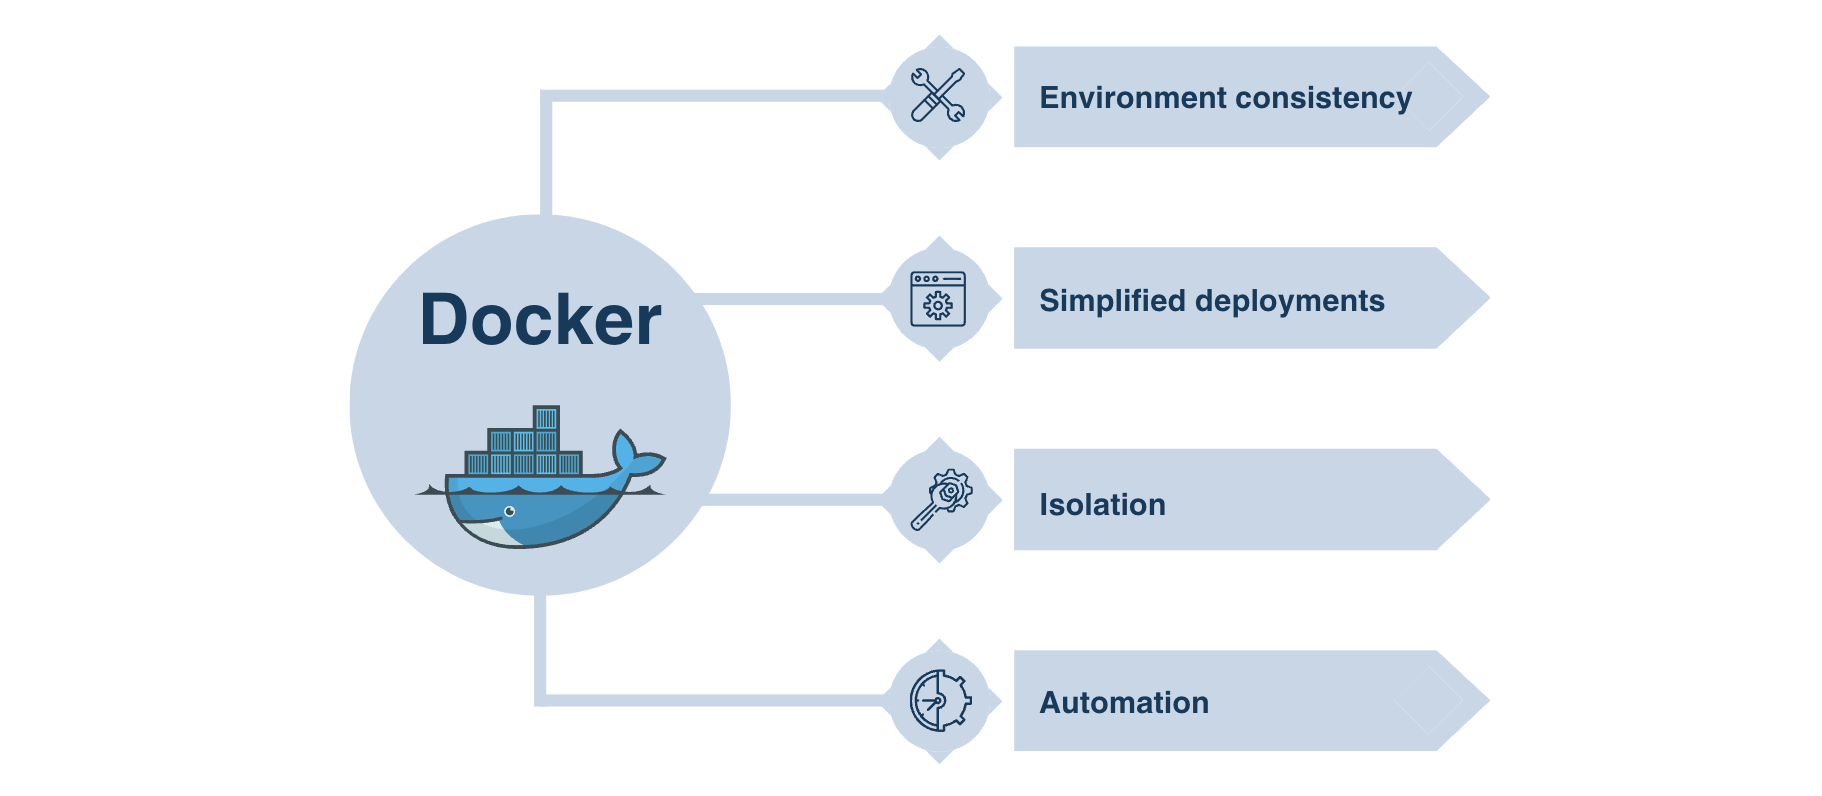
Running Apache Hop inside Docker offers several key advantages:

- Environment consistency: Docker ensures that your pipelines run the same way across different environments, eliminating the "it works on my machine" problem.
- Simplified deployments: Easily deploy Apache Hop in a containerized environment without worrying about dependencies or setup.
- Isolation: Docker containers isolate your pipelines and workflows from the host system, reducing conflicts.
- Automation: Perfect for integrating with CI/CD pipelines or deploying in cloud environments.
Pre-requisites
Before we begin, make sure you have the following:
- Apache Hop installed: No matter your operating system, Apache Hop should be up and running.
- Docker installed: Ensure Docker is set up on your machine (Windows, macOS, or Linux).
- Apache Hop project ready: Have your pipelines and workflows (like my-hop-project) prepared. In our case, we will use the same workflow created in Build & deploy 2.
Step 1: Pull the Apache Hop Docker image
To run your pipelines and workflows in Docker, you can pull the official Apache Hop image from Docker Hub:
Command:
docker pull apache/hop:<tag>
Example:
docker pull apache/hop:latest
This command fetches the latest Apache Hop Docker image, which we'll use to run our pipelines and workflows.
Command breakdown:
- docker pull: This command is used to fetch an image from a Docker registry.
- apache/hop: This specifies the Docker repository and image name. In this case, it's the Apache Hop image.
- <tag>: This is a placeholder for the specific version tag of the image you want to pull. Common tags include latest, stable, or specific version numbers.
Results:
After executing this command, Docker will download the specified Apache Hop image to your local machine. If you used latest, you will have the most recent version of Apache Hop available for running your pipelines and workflows.
You can verify the download by running docker images, which will list all the images available on your local system.
Note: If the Apache Hop Docker image is not available locally, Docker will automatically pull the image from Docker Hub when you first run the docker run command.
Step 2: Running a pipeline with Docker
Let’s start by running a pipeline we created in our "my-hop-project", which is responsible for extracting and transforming the data. 
Here's how you can do that from the command line:
Command:
docker run -it --rm \
 --env HOP_LOG_LEVEL=<logLevel> \
 --env HOP_FILE_PATH='<filePath>' \
 --env HOP_PROJECT_FOLDER=<projectFolder> \
 --env HOP_PROJECT_NAME=<projectName> \
 --env HOP_ENVIRONMENT_CONFIG_FILE_NAME_PATHS=<environmentName> \
 --env HOP_RUN_CONFIG=<runConfig> \
 --name <containerName> \
 -v <localPath>:/files \
 apache/hop:<tag>
Example:
docker run -it --rm \
  --env HOP_LOG_LEVEL=Basic \
  --env HOP_FILE_PATH='${PROJECT_HOME}/code/clean-transform.hpl' \
  --env HOP_PROJECT_FOLDER=/files \
  --env HOP_ENVIRONMENT_CONFIG_FILE_NAME_PATHS=${PROJECT_HOME}/dev-env.json \
  --env HOP_RUN_CONFIG=local \
  --name hop-pipeline-container \
  -v /path/to/my-hop-project:/files \
  apache/hop:latest
Command breackdown:
- --env HOP_LOG_LEVEL=Basic: Sets the logging level to "Basic".
- --env HOP_FILE_PATH='${PROJECT_HOME}/code/clean-transform.hpl': Specifies the path to the pipeline file.
- --env HOP_PROJECT_FOLDER=/files: Maps the project folder inside the container.
- --env HOP_PROJECT_NAME=my-hop-project: Specify the project within Apache Hop.
- --env HOP_ENVIRONMENT_CONFIG_FILE_NAME_PATHS=${PROJECT_HOME}/dev-env.json: Specifies the environment configuration file to use.
- --env HOP_RUN_CONFIG=local: Tells Docker to run the pipeline using the "local" configuration.
- --name hop-pipeline-container: This flag allows you to assign a custom name to your Docker container. In this case, the container will be referred to as hop-pipeline-container.
- -v /path/to/my-hop-project:/files: Maps your local project folder to the container.
- apache/hop:latest: Runs the latest Apache Hop image from Docker Hub.
Results:
After executing this command, a Docker container will be launched to run the specified Apache Hop pipeline. The logging level is set to "Basic," which controls the verbosity of the log output. The pipeline located at '${PROJECT_HOME}/code/clean-transform.hpl' will be executed, ensuring that the container has access to the necessary project files through the mapped folder /files.
The project is defined as "my-hop-project," allowing Apache Hop to operate within this context. The pipeline will run using the "local" configuration, which is suitable for local development and testing. Overall, the command ensures that your pipeline runs in a consistent and isolated environment, making it easier to manage dependencies and configurations.
Step 3: Running a workflow with Docker
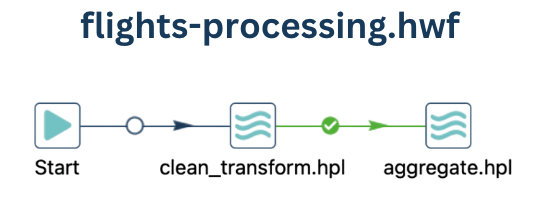
Now, let’s run the workflow we created in Build & Deploy 2. This workflow coordinates the sequential execution of two pipelines: clean-transform and aggregate.

To execute the workflow in Docker, use the following command:
Command:
docker run -it --rm \
 --env HOP_LOG_LEVEL=<logLevel> \
 --env HOP_FILE_PATH='<filePath>' \
 --env HOP_PROJECT_FOLDER=<projectFolder> \
 --env HOP_PROJECT_NAME=<projectName> \
 --env HOP_ENVIRONMENT_CONFIG_FILE_NAME_PATHS=<environmentName> \
 --env HOP_RUN_CONFIG=<runConfig> \
 --name <containerName> \
 -v <localPath>:/files \
 apache/hop:<tag>
Example:
docker run -it --rm \
  --env HOP_LOG_LEVEL=Basic \
  --env HOP_FILE_PATH='${PROJECT_HOME}/code/flights-processing.hwf' \
  --env HOP_PROJECT_FOLDER=/files \
  --env HOP_ENVIRONMENT_CONFIG_FILE_NAME_PATHS=${PROJECT_HOME}/dev-env.json \
  --env HOP_RUN_CONFIG=local \
  --name hop-pipeline-container \
  -v /path/to/my-hop-project:/files \
  apache/hop:latest
Command breackdown:
- --env HOP_LOG_LEVEL=Basic: Set the logging level to "Basic".
- --env HOP_FILE_PATH='${PROJECT_HOME}/code/flights-processing.hwf': Specify the path to the workflow file.
- --env HOP_PROJECT_FOLDER=/files: Map the project folder inside the container.
- --env HOP_PROJECT_NAME=my-hop-project: Specify the project within Apache Hop.
- --env HOP_ENVIRONMENT_CONFIG_FILE_NAME_PATHS=${PROJECT_HOME}/dev-env.json: Specifies the environment configuration file to use.
- --env HOP_RUN_CONFIG=local: Tell Docker to run the pipeline using the "local" configuration.
- --name hop-pipeline-container: Assign a custom name to our Docker container.
- -v /path/to/my-hop-project:/files: Map the local project folder to the container.
- apache/hop:latest: Specify the tag latest to run the latest Apache Hop image from Docker Hub.
Explanation:
- --env HOP_FILE_PATH='${PROJECT_HOME}/code/flights-processing.hwf': Points to the workflow file you want to run.
- The other flags remain the same as explained in Step 2.
After running this command, the Docker container will execute the entire workflow, running each pipeline in sequence.
Step 4: Automating with Docker and Shell scripts
To automate the process of running workflows or pipelines in Docker, you can create a shell script that executes these commands and monitors the exit codes. Here’s an example:
#!/bin/bash
# Run the workflow

docker run -it --rm \
  --env HOP_LOG_LEVEL=Basic \
  --env HOP_FILE_PATH='${PROJECT_HOME}/code/flights-processing.hwf' \
  --env HOP_PROJECT_FOLDER=/files \
  --env HOP_ENVIRONMENT_CONFIG_FILE_NAME_PATHS=${PROJECT_HOME}/dev-env.json \
  --env HOP_RUN_CONFIG=local \
  --name hop-pipeline-container \
  -v /path/to/my-hop-project:/files \
  apache/hop:latest

# Check the exit code
if [ $? -eq 0 ]; then
    echo "Workflow executed successfully!"
else
    echo "Workflow execution failed. Check the logs for details".
fi
This script runs the workflow and checks whether it completed successfully. You could easily integrate this into a larger CI/CD pipeline or set it up to run periodically.
Some remarks
Use of --rm for clean container lifecycle:
- The --rm option in the Docker run commands ensures that containers are removed after execution. This keeps your system clean by preventing the accumulation of stopped containers.
Proper file mapping:
- Ensure that the local path (/path/to/my-hop-project) matches your actual file structure. Misconfigured volume mapping could prevent the container from accessing required project files.
Adjusting logging levels:
- Experiment with different logging levels (Basic, Detailed, Error, etc.) depending on your needs. For troubleshooting, a more verbose logging level can be helpful, whereas in production, you may prefer minimal logging for better performance.
Environment configuration files:
- Use environment configuration files strategically to manage different environments, such as development, testing, and production. Ensure that the correct environment file is specified for each run to avoid misconfigurations.
Container naming:
- Assign meaningful names to your containers using the --name option (e.g., hop-pipeline-container or my-hop-project-container). This makes it easier to identify and monitor running containers, especially when running multiple instances.
Conclusion
Running Apache Hop pipelines and workflows using Docker is a powerful way to ensure consistent, scalable, and automated deployments. With the ability to integrate environment configurations, Docker gives you the flexibility to manage different setups.
Check the video below for a step-by-step walkthrough of the entire process!
Stay connected
If you have any questions or run into issues, contact us and we’ll be happy to help.